Creating a homemade cricket enclosure for your chirping guests is both an enjoyable and practical project. Whether you’re a reptile enthusiast looking to sustain your pet’s diet or an amateur entomologist interested in observing these fascinating insects, building a suitable habitat is key. Learning how to make the perfect cricket habitat doesn’t require an engineering degree—just a few materials and a dash of creativity.
A homemade cricket enclosure should balance proper ventilation, ease of access, and the right conditions to keep your crickets healthy and lively. With various materials at your disposal, from repurposed wooden frames to simple plastic totes, flexibility is at the heart of this DIY endeavor. The size and complexity of your cricket house can vary depending on how many crickets you plan to accommodate and how long you intend to keep them.
Maintaining your cricket enclosure involves regular cleaning and providing a nutritious diet for your tiny residents. Crickets require a proper balance of protein, fruits, and vegetables—alongside a constant water source. By tailoring the enclosure to match the needs of your crickets, you’ll ensure they remain active and healthy, serving their purpose whether it’s for feeding other pets or simply observing their unique behavior.
Essential Materials for Your Cricket Enclosure
Creating the ideal home for your crickets is vital for their health and well-being. You’ll need a few key materials to ensure your cricket enclosure is safe and comfortable for these chirpy insects.
Choosing the Right Container
Selecting an appropriate container is the first step in setting up your cricket enclosure. A transparent plastic tote or an aquarium can be a great choice because of its durability and ease of cleaning. Ensure that the size is sufficient for the number of crickets you plan to keep – a standard 10 to 20-gallon container is suitable for starters.
Substrate and Bedding Options
For the substrate within your cricket enclosure, consider materials that are absorbent and easy to replace. Egg crates provide an excellent surface for crickets to climb and hide, while paper towels are good for lining the floor to simplify cleaning. Substrates such as soil or coconut fiber can also be used, but they might retain moisture and promote mold growth, so they require more maintenance.
Ventilation Requirements
Proper ventilation is crucial to keep your cricket enclosure free from mold and excessive moisture. Incorporate a lid with mesh or a screen to allow air flow while preventing escapes. If using a tote, you can cut out sections and securely tape or glue on metal or plastic mesh. Remember, the mesh should be fine enough to prevent crickets from squeezing through.
Setting Up the Enclosure
When you’re ready to create a home for your crickets, it’s essential to focus on their substrate, ensure proper temperature and humidity, and provide reliable food and water sources.
Installing Substrate and Decor
Firstly, line your cricket enclosure with a suitable substrate—coconut fiber or soil works well for bedding as it retains moisture and is easy for crickets to burrow in. Include egg cartons or toilet paper rolls for them to crawl on and hide under, which will also increase the surface area available for your crickets.
Temperature and Humidity Control
Maintaining an optimal temperature between 82°F to 86°F is crucial for cricket breeding and health. Use a heating pad or a reptile heat lamp to achieve this. To keep the right humidity, around 70 to 75%, lightly mist the substrate every few days, but avoid over-wetting to prevent mold.
Adding Food and Water Stations
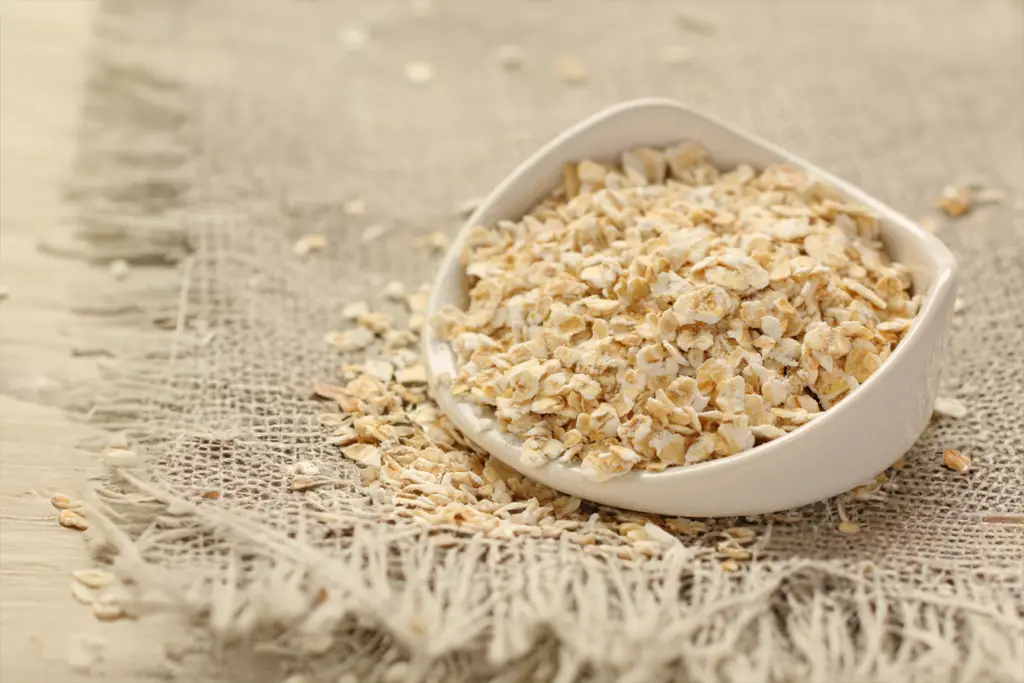
Crickets need a steady supply of food such as grains, vegetables, and specially formulated cricket feed. Set up small dishes to keep the food contained. For water, use either a shallow water dish with sponge pieces to prevent drowning, or a commercial water gel to provide hydration safely.
Daily Care and Maintenance
Proper daily care and maintenance are key to a healthy cricket enclosure. This involves feeding, cleaning, and environmental monitoring to ensure your crickets thrive.
Feeding Your Crickets
It’s important to feed your crickets high-quality cricket food or cereal grains daily. They also require a source of moisture, like a wet sponge, to prevent drowning while drinking. To supplement their diet, you can offer sliced fruits and vegetables every couple of days.
Cleaning Routines
Daily spot cleaning is recommended to remove dead crickets and waste. At least once a week, you’ll need to do a thorough cleaning of the enclosure. Remove and replace substrates, and wipe down all surfaces with a mild disinfectant that’s safe for your crickets.
Monitoring the Environment
Maintain a consistent temperature of 70-75°F for optimal cricket health. Regularly check the humidity with a hygrometer, aiming for a relative humidity around 40-50%. Good ventilation is crucial to prevent the buildup of harmful ammonia from cricket waste.
Frequently Asked Questions
Creating your own cricket enclosure can be a simple and rewarding project. Here’s what you need to know to get started and keep your crickets thriving.
What materials are needed to create a homemade cricket enclosure?
To start your DIY cricket enclosure, you’ll need a container like a plastic tote or an aquarium, some form of ventilation like mesh screen, along with materials for hiding and climbing, such as egg cartons or toilet paper rolls. Secure your crickets’ new home with a lid, and you’re on the right track.
What is the ideal size for a cricket enclosure at home?
The size of your cricket enclosure should reflect the number of crickets you plan to house. A 10 to 20-gallon container is sufficient for several dozen crickets, providing them with space to move, hide, and interact.
How can I ensure proper ventilation in my DIY cricket enclosure?
Proper ventilation is key to maintaining a healthy environment. You can achieve this by incorporating a mesh screen into the lid of your enclosure or by drilling small holes, ensuring that the openings are small enough to prevent escape.
What are some cost-effective ways to maintain a homemade cricket habitat?
Keeping maintenance costs low involves using everyday items for the habitat. Egg cartons, paper tubes, and plastic plants are inexpensive and effective for creating hiding spots. Regular cleaning and feeding with vegetables and commercial cricket feed will also help minimize expenses.
How do I build a durable cricket enclosure using wood?
Constructing a wooden cricket box involves framing with 2-by-4s and enclosing with quarter-inch plywood. Ensure that the wood is smooth and free of chemicals that could harm the crickets.
What are the necessary features of a cricket farm to keep crickets healthy?
A successful cricket farm requires bedding, nutrition, and humidity control. Bedding can be simple soil or vermiculite. Nutrition involves a balanced diet including fruits, vegetables, and commercial cricket food. Maintain humidity by misting the enclosure and using an adequate substrate.

Driven by a passion for those tiny creatures that rule our world, we at Bug Domain strive to be your go-to resource for information on insects.